Switchable Smart Glass Tips: 7 Top Insider Picks (2026)
Switchable smart glass installs ship clean when the buyer brings a few insider tips into the consult — the spec details that working installers wish every prospective client already knew. Most of those tips don’t appear on manufacturer marketing material because they’re install-side rather than product-side. The seven switchable smart glass tips below come straight from real LA-area installers and are the ones we wish every consult started with.
This guide walks the seven switchable smart glass tips we surface most often during the consult — the insider-level spec advice that distinguishes a high-quality install from a generic one. Each tip comes from real LA-area installs and from the rescue calls where one of these tips was missed during the original spec.
Why Switchable Smart Glass Tips Matter Pre-Order
The product spec on switchable smart glass looks similar across vendors — clear-to-frosted toggle, low-voltage driver, wall switch or app control. The actual quality differences show up in the install-side decisions that buyers don’t typically see during product comparison. The seven switchable smart glass tips below front-load the install-side discipline so your consult conversation runs at insider-level rather than marketing-level.
The 7 Insider Switchable Smart Glass Tips
- 1. Glass-prep time predicts install quality more than product grade. The first switchable smart glass tip working installers will share. Quality installs allocate more time on glass prep (clean-room standards, alcohol wipe-down, controlled environment) than on film application. Rushed prep is the leading cause of edge-bubble service calls in months 2–6 post-install. Ask the installer how much time they allocate to glass prep relative to application; the right ratio is 60/40 or higher in favor of prep.
- 2. Driver placement matters for service-life accessibility. The low-voltage driver lives somewhere — cabinet, ceiling cavity, utility closet. A quality install identifies an accessible long-term location during the site-measure walkthrough. Ask “where will the driver live, and can I reach it for service in year 5?” If the installer hedges, they’re likely planning a quick-and-easy placement that becomes expensive to service later.
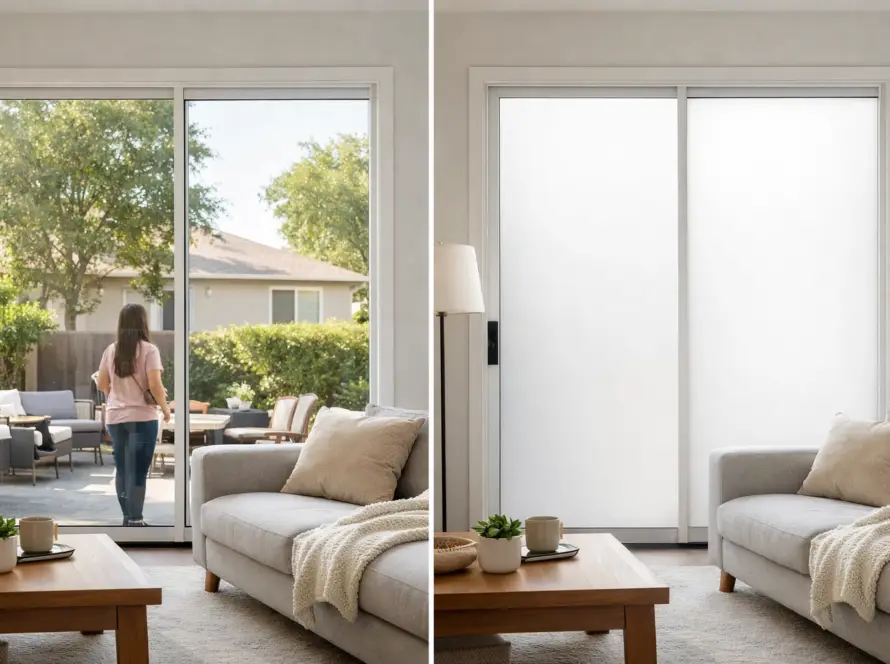
- 3. Default-state behavior is a feature, not a bug. Switchable glass defaults to frosted on power loss — the “normally opaque” state. Working installers love this behavior because it means a power flicker leaves the glass private rather than transparent. But unbriefed users call the first power flicker as a malfunction. The switchable smart glass tip is: ask for the user-briefing paragraph during the consult and read it before the install.
- 4. Cheap online kits aren’t a value spec — they’re a future re-install. Working installers see the cheap-kit failure mode roughly every other week. Yellowed adhesive, delaminated edges, dead spots — failure within 12–24 months. The math: cheap kit at $X installed plus rescue install at $2X equals more than professional-grade install at $1.5X done once. Buyers who learn this switchable smart glass tip skip the cheap path.
- 5. Smart-home integration is dramatically cheaper to plan up front. Adding Lutron, Savant, Crestron, or HomeKit integration after install means re-pulling cable. Adding it during install means the right cable gets pulled on the first visit. The switchable smart glass tip: decide the control path before the electrician shows up — even if you’re not using smart-home control on day one, plan for it during the spec phase.
- 6. Existing window film blocks the install. Switchable smart glass bonds best to clean, untreated glass. Existing tint, sun-control film, or frosted vinyl reduces optical clarity and may void install warranty. The switchable smart glass tip from working installers is: confirm during site measure that the glass is untreated, and plan removal as a separate prep step if it isn’t.
- 7. The 60-day post-install walkthrough catches everything. Most install-side issues that appear (edge bubbles, control flicker, driver buzz) surface in the 30–90 day window post-install. A working installer welcomes a 60-day walkthrough — it catches issues while they’re still under install warranty and before they spread. The switchable smart glass tip is: schedule the walkthrough at install completion rather than waiting for problems to appear.

For technical context on the underlying switchable-film technology that determines product behavior across the seven tips, see our smart film PDLC page — covers the spec details that drive product reliability over the install’s lifespan.
Where the Switchable Smart Glass Tips Pay Back Most Clearly
The seven switchable smart glass tips pay back fastest on three project types where install-side errors are most expensive to recover from:
- Multi-glass residential projects (3+ surfaces). A spec error repeated across multiple surfaces becomes a substantial debugging exercise. Tips #1 (glass prep) and #2 (driver placement) catch issues that would otherwise repeat across the project.
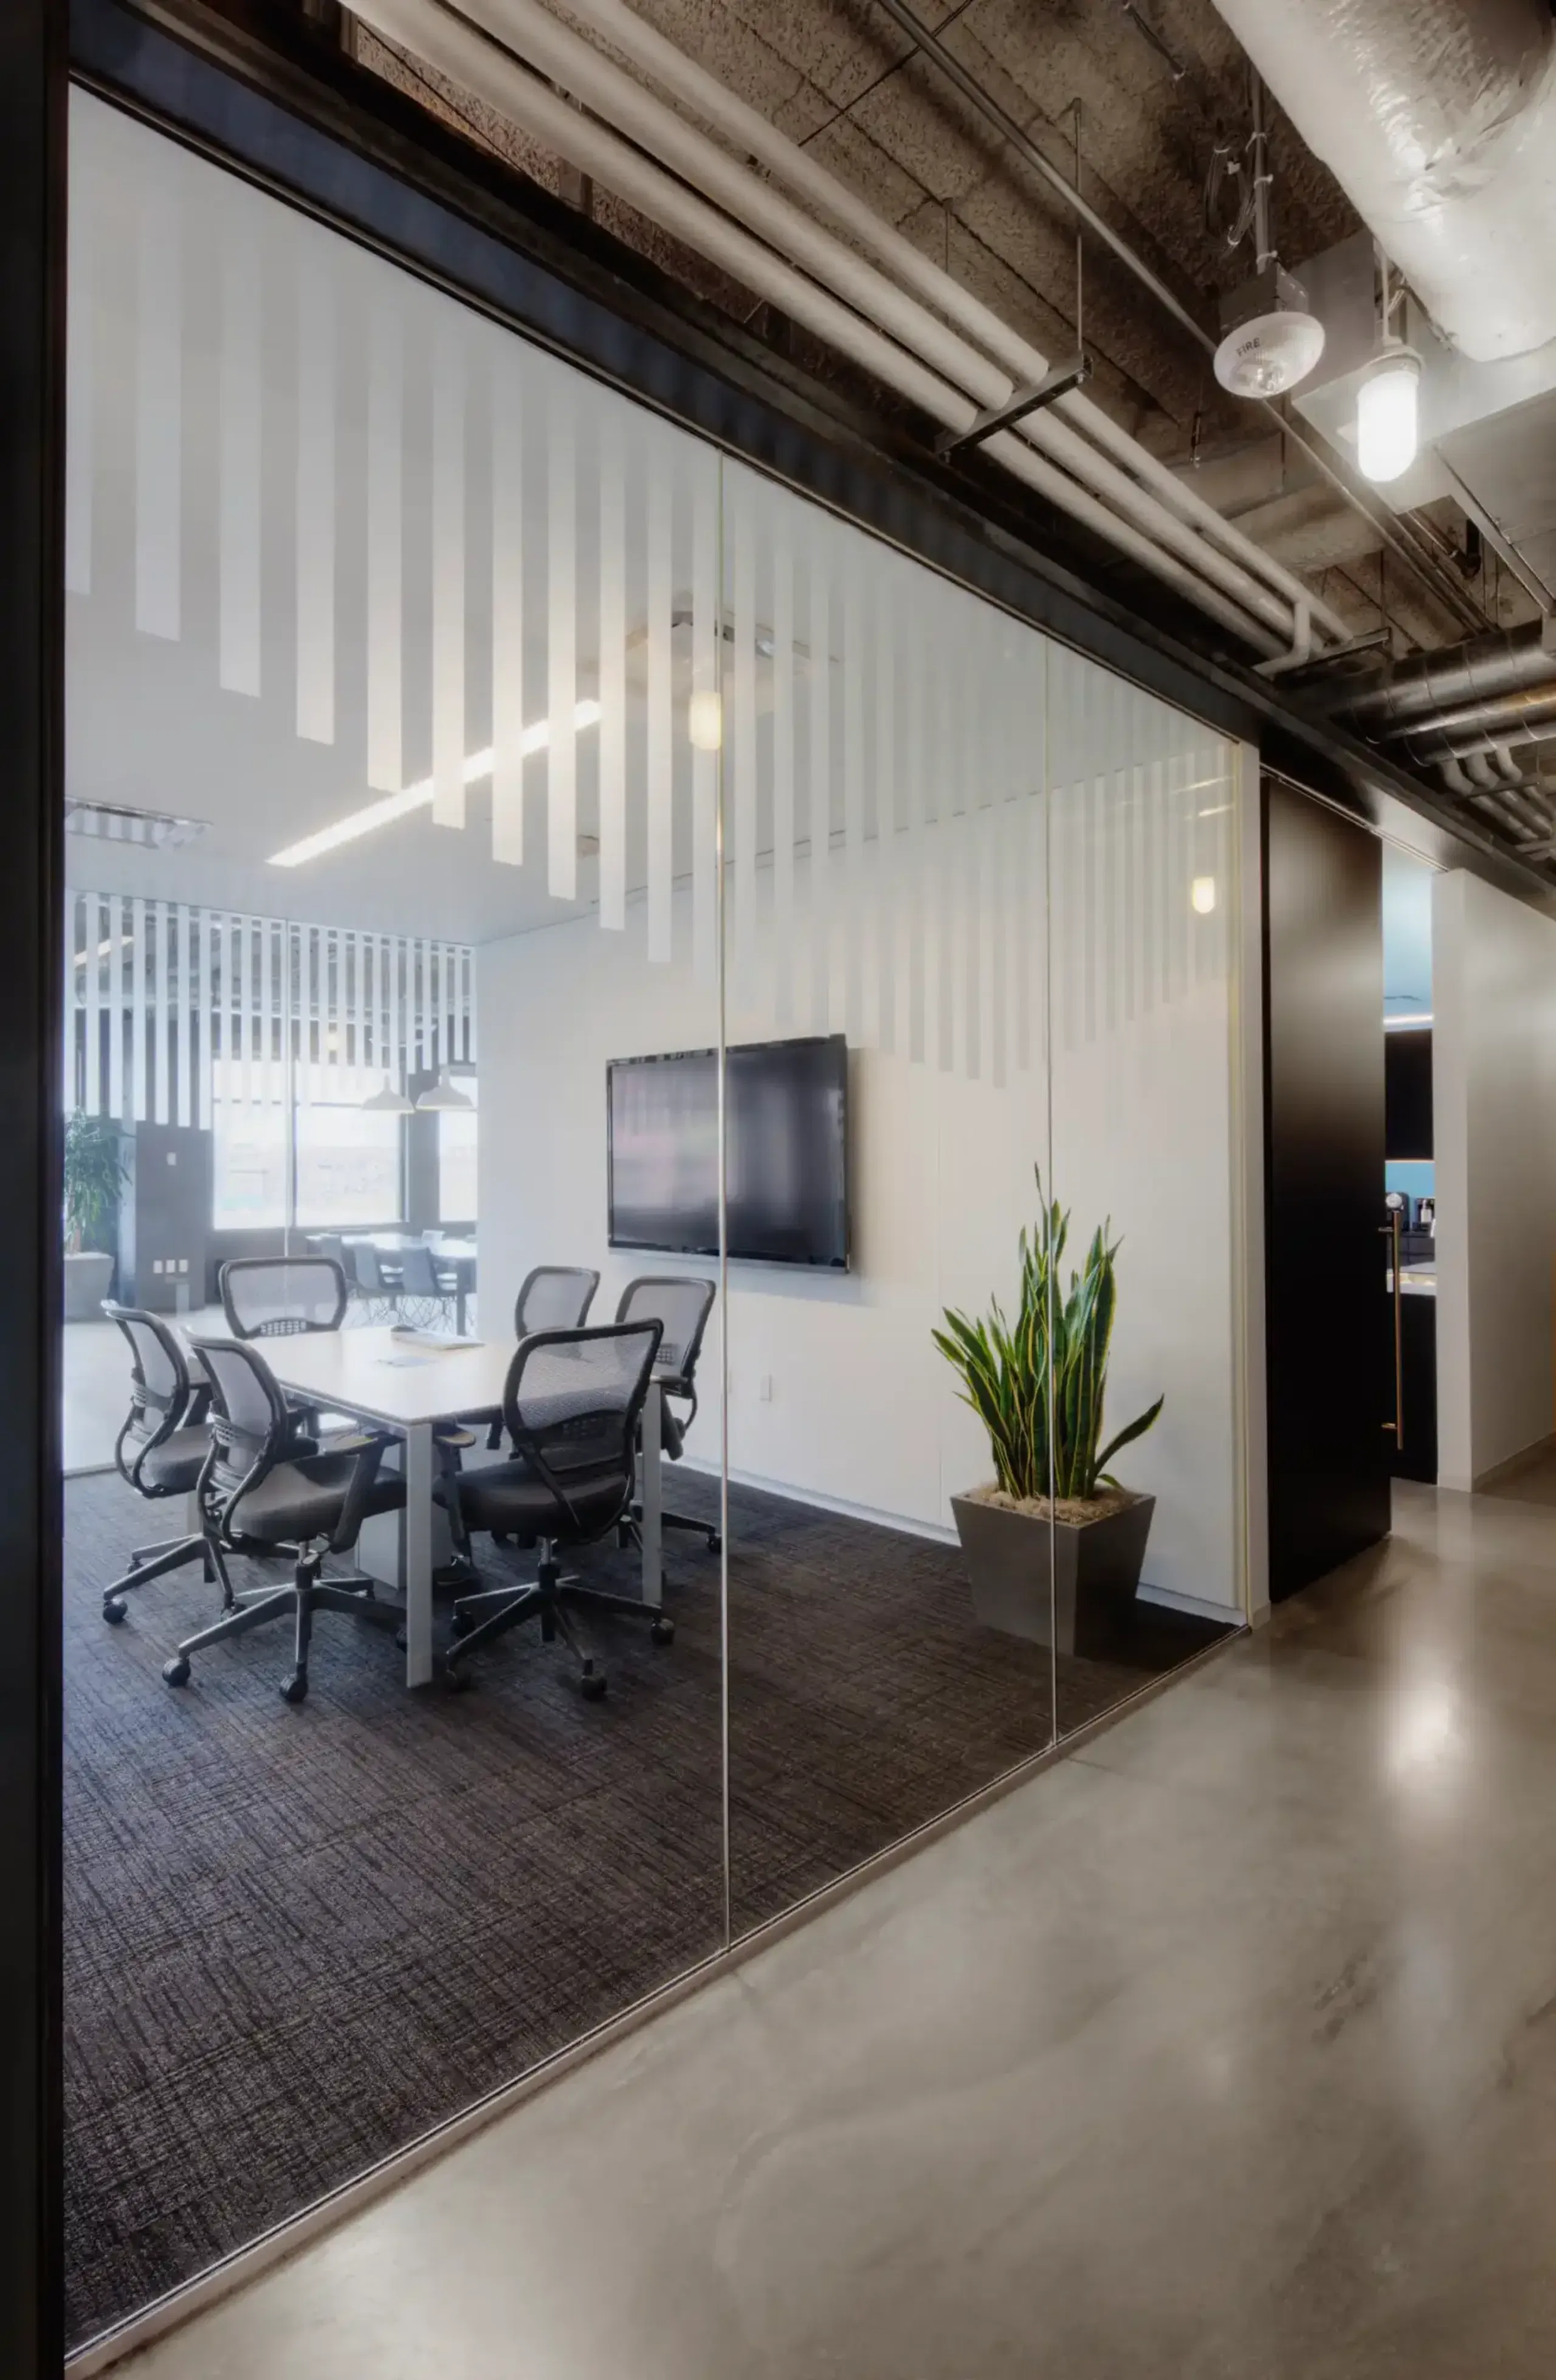
- Class A commercial projects with BMS integration. Tip #5 (smart-home integration up front) is decisive on its own — retrofitting Crestron/Lutron/Savant integration after install requires re-pulling cable, and that single mistake costs more than the consult exercise.
- Custom-cut or shaped-glass projects. Tips #1 (glass prep) and #6 (existing-film check) are critical because shape-cut and brand-mark installs leave less margin for installer error — discipline directly reduces visible-defect risk.
How the Seven Tips Compound Across a Multi-Project Portfolio
For homeowners or property managers planning multiple switchable-glass projects across 12–24 months, applying these switchable smart glass tips consistently across all projects compounds in two ways. First, the spec preferences become repeatable — the installer learns your standards on project one and ships project two faster. Second, the post-install troubleshooting load drops because the same seven tips catch the same seven failure modes across the portfolio.
This is one of the patterns we see most often on Class A commercial portfolios and luxury-residential property managers — one trusted installer, repeated scope, fewer rescue calls because the seven switchable smart glass tips ran consistently on every project.
The Seven Tips in Real Project Math
Working through the seven switchable smart glass tips during the consult adds about 30–60 minutes to the consult time and zero cost to the project. The product cost depends on the tier choice (tip #4) — cheap kits run $1,500–2,500 for a typical bathroom but ship a rescue install in 12–24 months; warranted professional film runs $2,000–3,000 once for the same opening. The other six tips are about install discipline rather than product cost — they cost nothing to apply, and they save the rescue-install cost when followed.
A Pasadena Bathroom Reference
The cleanest example of these switchable smart glass tips applied end-to-end is a Pasadena bathroom-window install we shipped this year. All seven tips ran in sequence during the consult: generous glass-prep time allocation, driver placement in an accessible cabinet, default-state-frosted briefing, professional-grade product spec, smart-home integration planned during electrical, untreated-glass confirmation, and 60-day walkthrough scheduled at completion. Zero service calls in the months since.
Full project breakdown: smart glass on a Pasadena bathroom window — single residential scope with all seven tips applied.
Planning a Switchable Smart Glass Project?
If you’re scoping a switchable smart glass install for a residential or commercial space, a 30-minute consult can run through the seven switchable smart glass tips against your specific project before glass is ordered. No sales pressure — straight read on which tips need attention and which decisions are still open.
Contact Smart View with the project type, glass count, and any spec preferences you’ve already settled on, and we’ll work through the remaining tips with you.